The MARS Simulator
Introduction
MARS (Mips Assembly and Runtime Simulator) is a program used for assembling and simulating the execution of codes written in the MIPS assembly language. It can be used from the command line or through its integrated development environment (IDE). MARS is Java program and requires at least version 1.5 of the J2SE Java Runtime Environment (JRE) to run. It is distributed as an executable JAR file from the Missouri State University website.
MARS is already installed inside the VM found on the course website and on the Labs machines. To launch MARS from any of these machines, simply enter the following command in a terminal
$ mars
There are two main windows in MARS (see figure below):
-
The “Edit” window: used to create and/or modify a MIPS program.
-
The “Execute” window: used to run and/or debug a MIPS program.
To switch between these windows, click the tabs at the top.
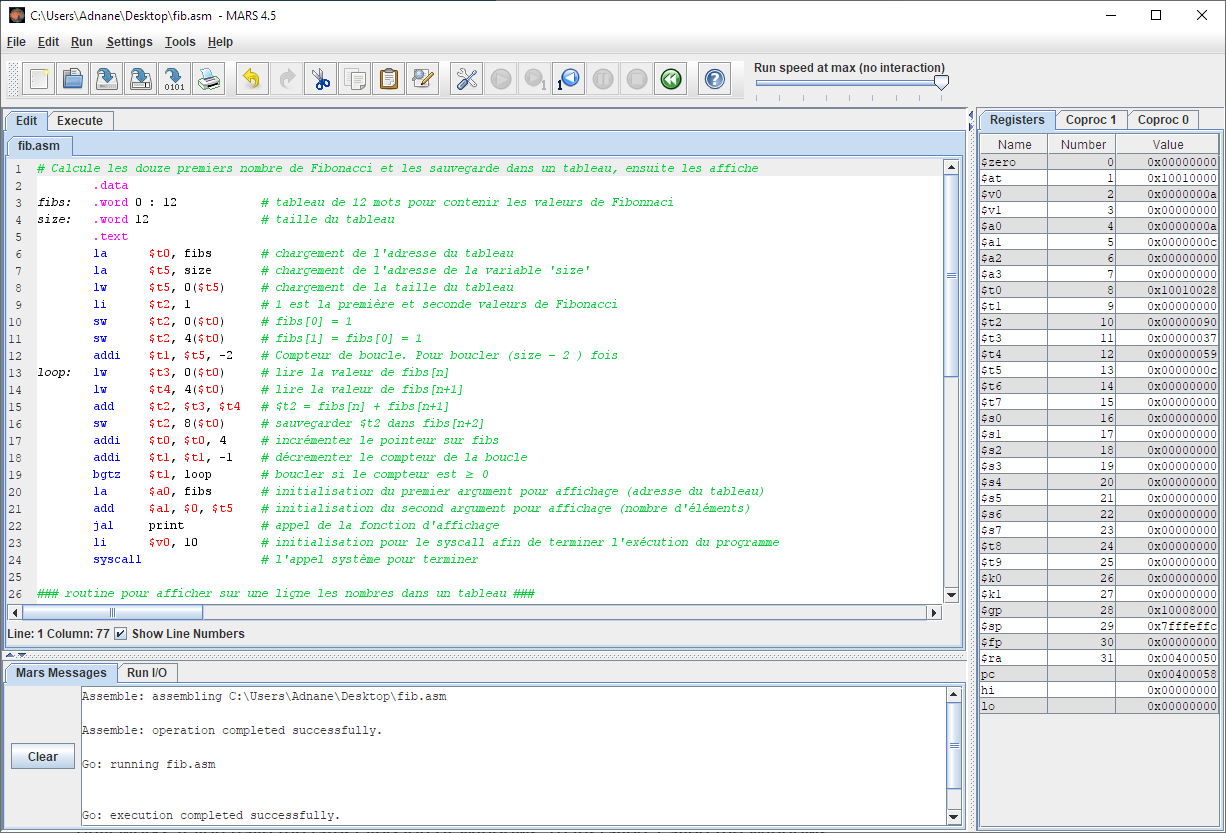
There are two message areas organised as tabs at the bottom of the figure above:
-
The “Mars Messages” tab: used to display messages such as assembly or execution errors. You can click on the assembly error message to select the corresponding line of code in the editor.
-
The “Run I/O” tab: Used at run time to display the program’s output on the console and optionally enter inputs for it.
The “Execute” window contains three main panes:
-
Text Segment: displays the machine code and associated memory addresses.
-
Data Segment: displays the program’s data segment in memory (i.e. memory locations that contain allocated space/variables for the program).
-
Labels: displays the addresses of labeled elements such as variables or branching points. If the pane is not visible on your simulator, you can activate it from the “Settings | Show Labels Window (symbol table)”
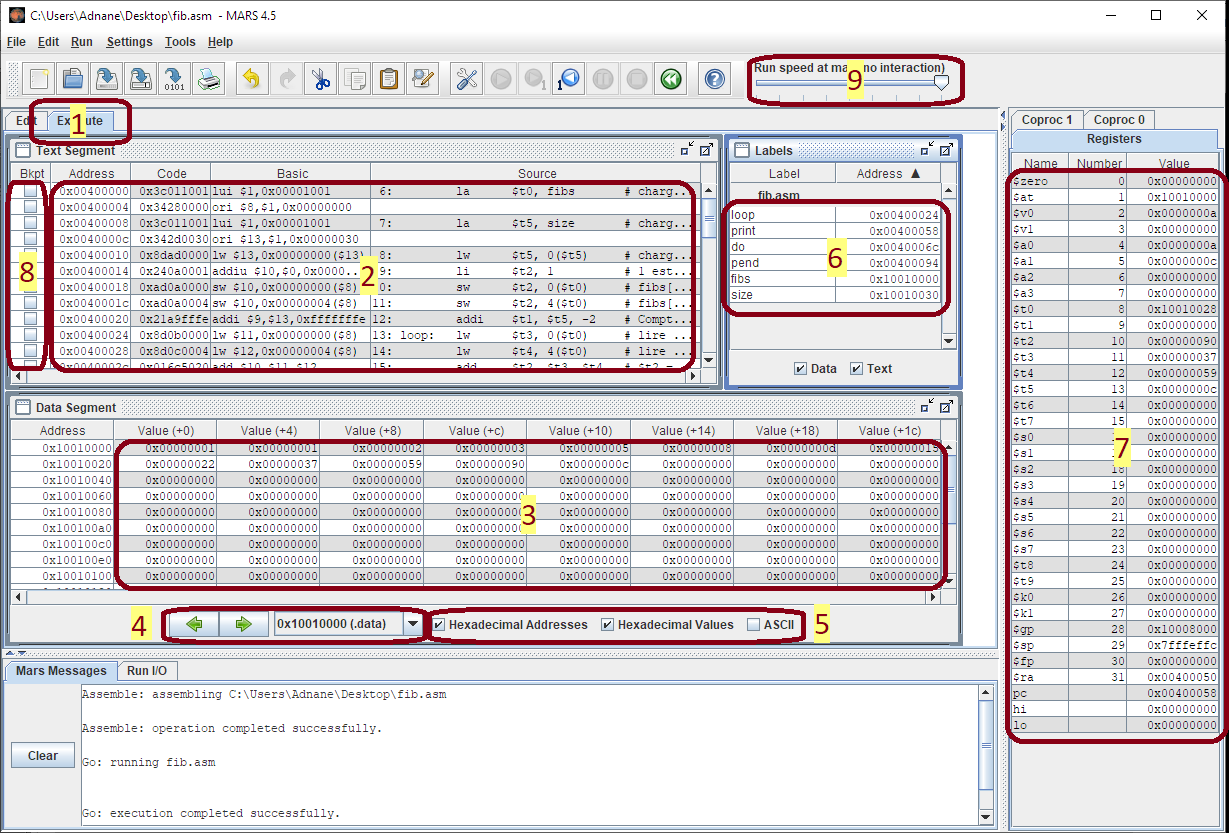
The figure below shows the « Execute » window pane with highlighted features:
-
The “Execute” window tab.
-
Assembler text shown with associated memory addresses and machine code.
-
Values stored in the data segment. You can modify these values directly.
-
Navigation controls for the data segment. Also toggles to display the stack segment.
-
Switch between decimal and hexadecimal display of addresses and values in memory and registers.
-
The labels and their associated memory addresses.
-
Values stored in registers. You can directly modify these values in this area.
-
Check boxes used to configure “breakpoints” for each MIPS instruction. Useful for debugging.
-
Selection of execution speed. Useful for debugging.
At all times, the MIPS registers are shown on the right side of the MARS simulator, even when you are in edit mode and not running a program. This serves as a useful reference for registers names and their usage. Move the mouse over a register name to see a tooltips.
There are three register tabs:
-
Registers : The integer registers $0 to $31, HI, LO, and the PC.
-
Coproc 0 : Registers for managing exceptions, interrupts, and showing status codes.
-
Coproc 1 : registers for floating point computations.
Assembling, Executing, and Debugging MIPS Programs
To assemble a text edited/loaded in the “Edit” tab, select “Assemble” from the “Run” menu or use the ![]() icon from the toolbar.
icon from the toolbar.
If there are syntax errors in the program, they will appear in the “Mars Messages” tab at the bottom of the MARS window. Each error message contains the row and column where the error occurred.
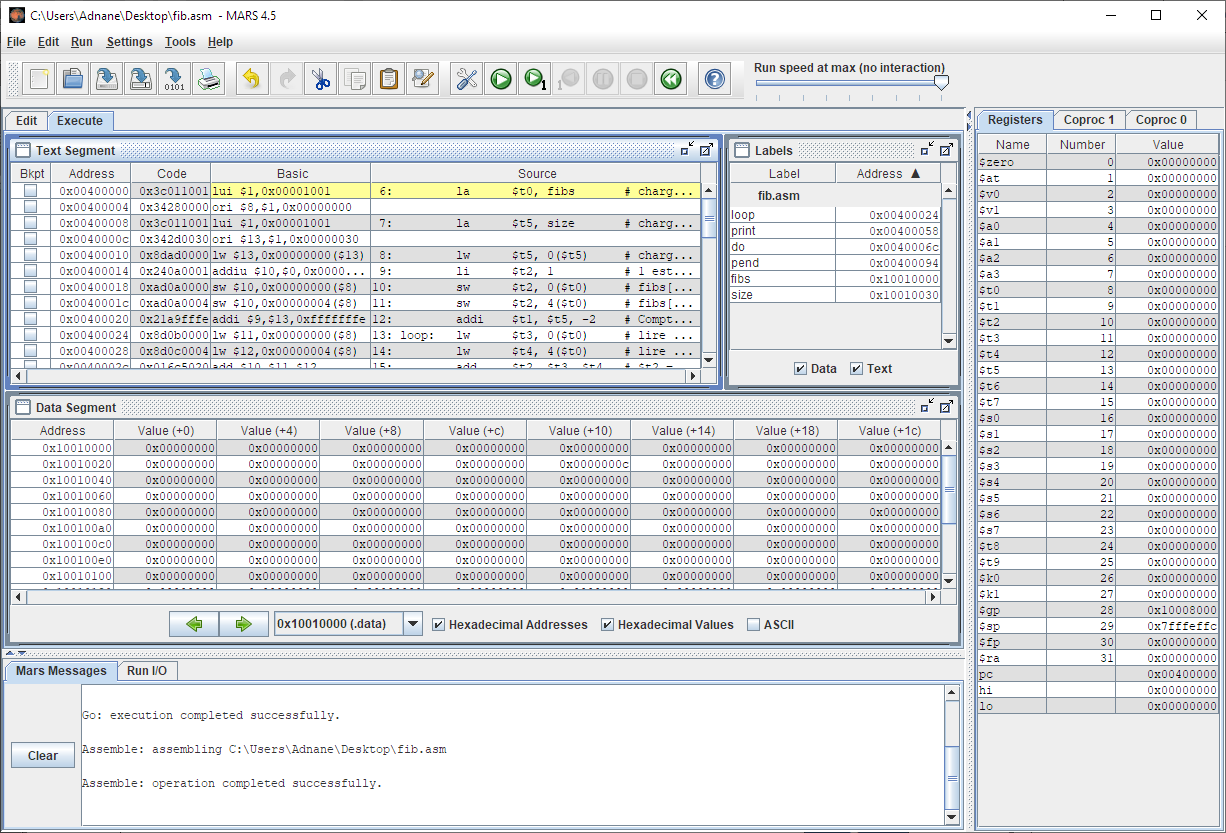
If the MIPS program assembles successfully, the registers are initialised and the code and data segments are populated, as shown below.
After running the “Assemble” command, you can now execute the program. The “Run” menu and toolbar contain the following run options:
| Menu | Icon | Action |
|---|---|---|
| Run | Assemble | Assembles the text source | |
| Run | Go |  |
Runs the program until the end or until the next “breakpoint” |
| Run | Reset |  |
Resets the program and simulator to initial values. Allows one to restart program execution. |
| Run | Step |  |
Step-by-step execution: Executes one instruction at a time. Allows you to debug the program by inspecting registers and memory after running each single instruction. |
| Run | BackStep |  |
A step back: Undo the last instruction. |
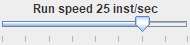 |
This slider allows you to run a program at full speed or slow it down so that one can see the progress of the execution. | |
While the program is running, the current instruction is highlighted in yellow and the register that was last modified is highlighted in green. Additionally, the variable that was just updated in the data segment is highlighted in blue. These colour effects are only noticeable if you run the program in “step-by-step” mode or at a reduced speed.
Assembling (in MARS) a project made up of several files
Sometimes one may need to assemble multiple files at the same time for a project. For example, implementing a function in one file and using another provided “test” file to ensure our function is implemented correctly.
The MARS simulator allows multiple files to be assembled and linked in a single program. Follow the steps below to enable this feature, if necessary.
- Put the project files in the same directory.
- From the MARS menu, toggle “Settings | Assemble all files in directory”.
- Additionally, to ensure execution always starts from your ‘main’ function, enable the parameter “Settings | Initialize program counter to global ‘main’”.
- Assemble the main project file (i.e. the file containing your ‘main’ function); MARS will take care of assembling and linking the calls to the other files.
- Happy MIPSing!
For more details on the MARS simulator, refer to the MARS documentation.
Usage examples
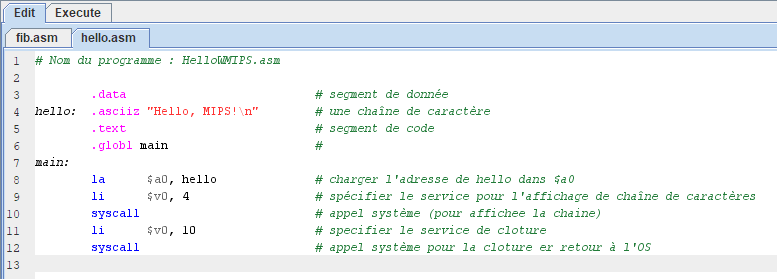
Example 1: ‘Hello world’ in MIPS!
- Type in MARS the program shown in the figure below.
- Learn how to show and hide line numbers.
- Assemble and run the program.
- What is the output of the program? and where does it appear?
Example 2: Advanced use of the MARS simulator
- Open and assemble in MARS the
Fibonacci.sfile available from here. - Identify the locations and values of the initialised data.
- Switch the display format between decimal to hexadecimal.
- Run the program at a speed of 3 instructions per second or less.
- Run the program step by step and notice how the values change in the registers and in memory.
- Observe the program output in the “Run I/O” display window.
- Set a “breakpoint” to the first statement that displays the results. What is the address of this instruction?
- Run the program at normal speed and notice how it stops at the “stopping point”.
- Change the line:
space: .asciiz " " # space to insert between numbersto this line
space: .asciiz "\n" # space to insert between numbersRun the program again. What do you notice?